Completed
Device(s)

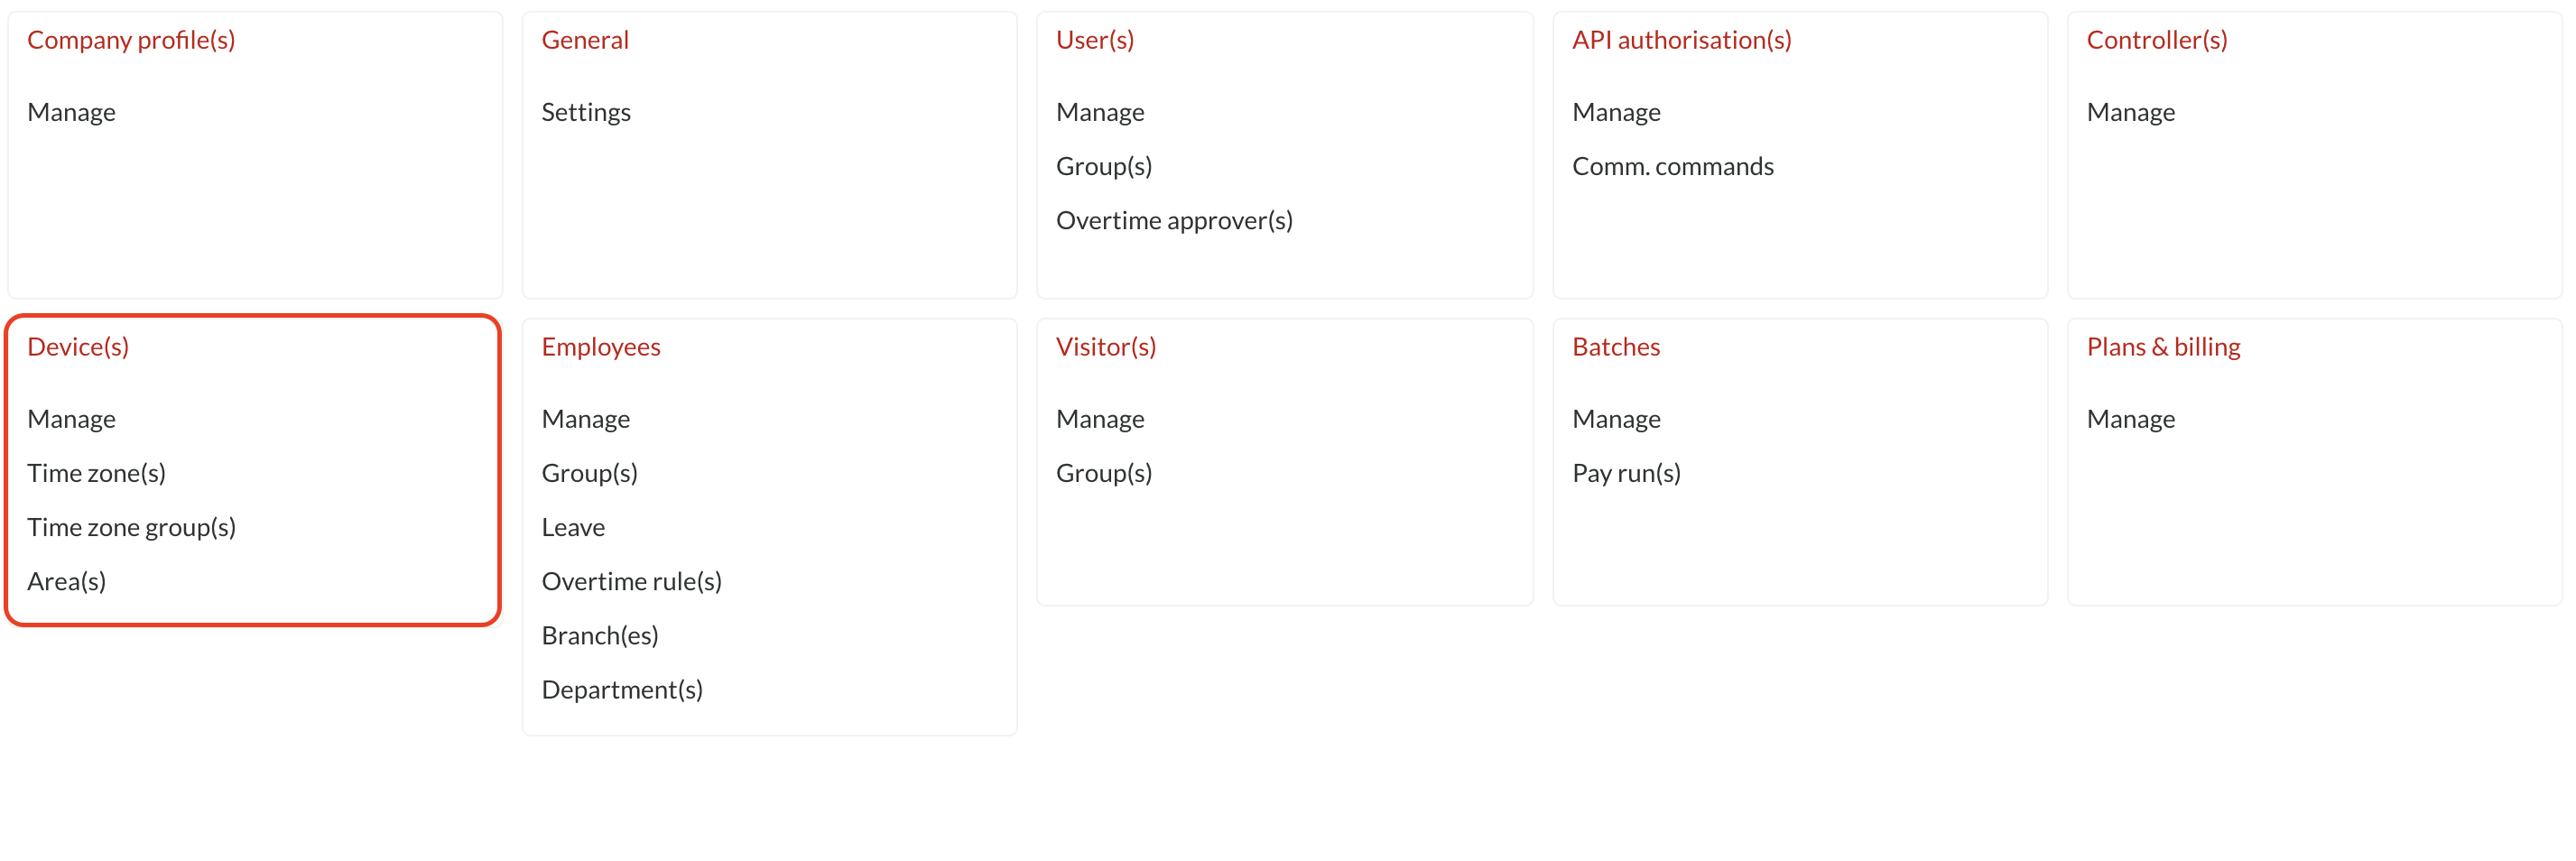
Here you get to manage the devices on the profile. You can add, remove and verify that devices are online at this section.
Manage
Step 1: Click on Manage to view devices currently linked to your profile or add new devices.

Under this view, you'll be able to see the devices linked to your profile as well as their connection and communication status as indicated in the example below. The device name, product type selected for this device, the device serial number, the specified connection method, connection value (device IP), device check-in status, templates communication status, and the attendance communication status.

Step 2: When adding new device(s) click on the ellipses button (dots) and select New.
Step 3: Enter the device details under the General tab
Name | Give your device a name that will make it easily identifiable to you |
Product | Choose the type of device you have from a drop-down list |
Serial number | Enter the serial number (can be found on the side of the box your device came in, or on the back of the device) |
Type |
|
Step 4: Enter the details under the Clock status & Area(s) tab. There are four options available when setting the clock status & areas of a device.

1. Automatic; sequential [Beta] - This is a beta seeting that should not be applied to a client without prior knowledge of it's capability. This setting is used when BC Time is required to order an employees clocked data in sequence. The pattern used would allow for the first clock to be an IN, the next and OUT and sequentially continue as such. This setting is available for time & attendance setup types.
2. Determine by device settings - This setting is used when the clock state as recorded in BC Time is determined by the setting as configured on the device. The device should be setup to allow the employee or visitor to choose which state they intend to clock, either IN or OUT and BC Time in turn will record the state as determined by the device for time & attendance specific setup types only.
3. In - This setting is used when the device being added will only be used to record IN states. Once this is enabled, the records recorded from this device under reports will be IN states.
4. OUT - This setting is used when the device being added will only be used to record OUT states. Once this is enabled, the records recorded from this device under reports will be OUT states.
When a device is being setup for Time, Attendance and Security or for Security only, the IN and OUT option will allow for the selection of the Come from and Go to areas for this device.

If a slave device is connected to an IN or OUT device, select the Connected with slave checkbox to determine the Go to area of the slave reader.

Step 5: Enter the device's Communication details for the device being added.
Branch | Select the branch this device will be used for |
Connection method | The connection method is either Internal IP, External IP or Host |
IP / Host | Enter the connection value |
Port | Enter the port |
If you want to delete a Device
Step 1: Click on the Device name you want to delete
Step 2: Click on ellipses button (dots) and select delete
Step 3: Confirm the delete
Time zone (s)
Here you give access to your employees during which time periods they are allowed to clock / enter specific areas (when using Security)
Step 1: Choose Time zone(s)
Step 2: Click on ellipses button (dots) and select New
Step 3: Give your time zone a name
Step 4: Set up the Per day time span under the setup tab
Time zone group(s)
Time zone group(s) is where you assign different time zone set up to groups
Step 1: Choose Time zone group(s)
Step 2: Click on ellipses button (dots) and select New
Step 3: Give your new time zone group a name under General
Step 4: Under the time zone(s) tab, link your time zone group to the different time zones that you have set up.
Area(s)
Here you set up the different areas and which groups have access to them (security devices)
Step 1: Choose Area(s)
Step 2: Click on ellipses button (dots) and select New
Step 3: Enter a name for your area under General
Step 4: Grant employees access to an area by linking a group to the area under Employee group membership
Step 5: Grant visitors access to an area by linking a group to the area under Visitor group membership
Os comentários não estão permitidos neste curso.